Installation & Setup
Get your Olympus Terminal up and running in 4 simple steps.
Quick Setup
Most installations take 10-15 minutes. Have your server IP address ready before starting.
Step 1: Download & Install
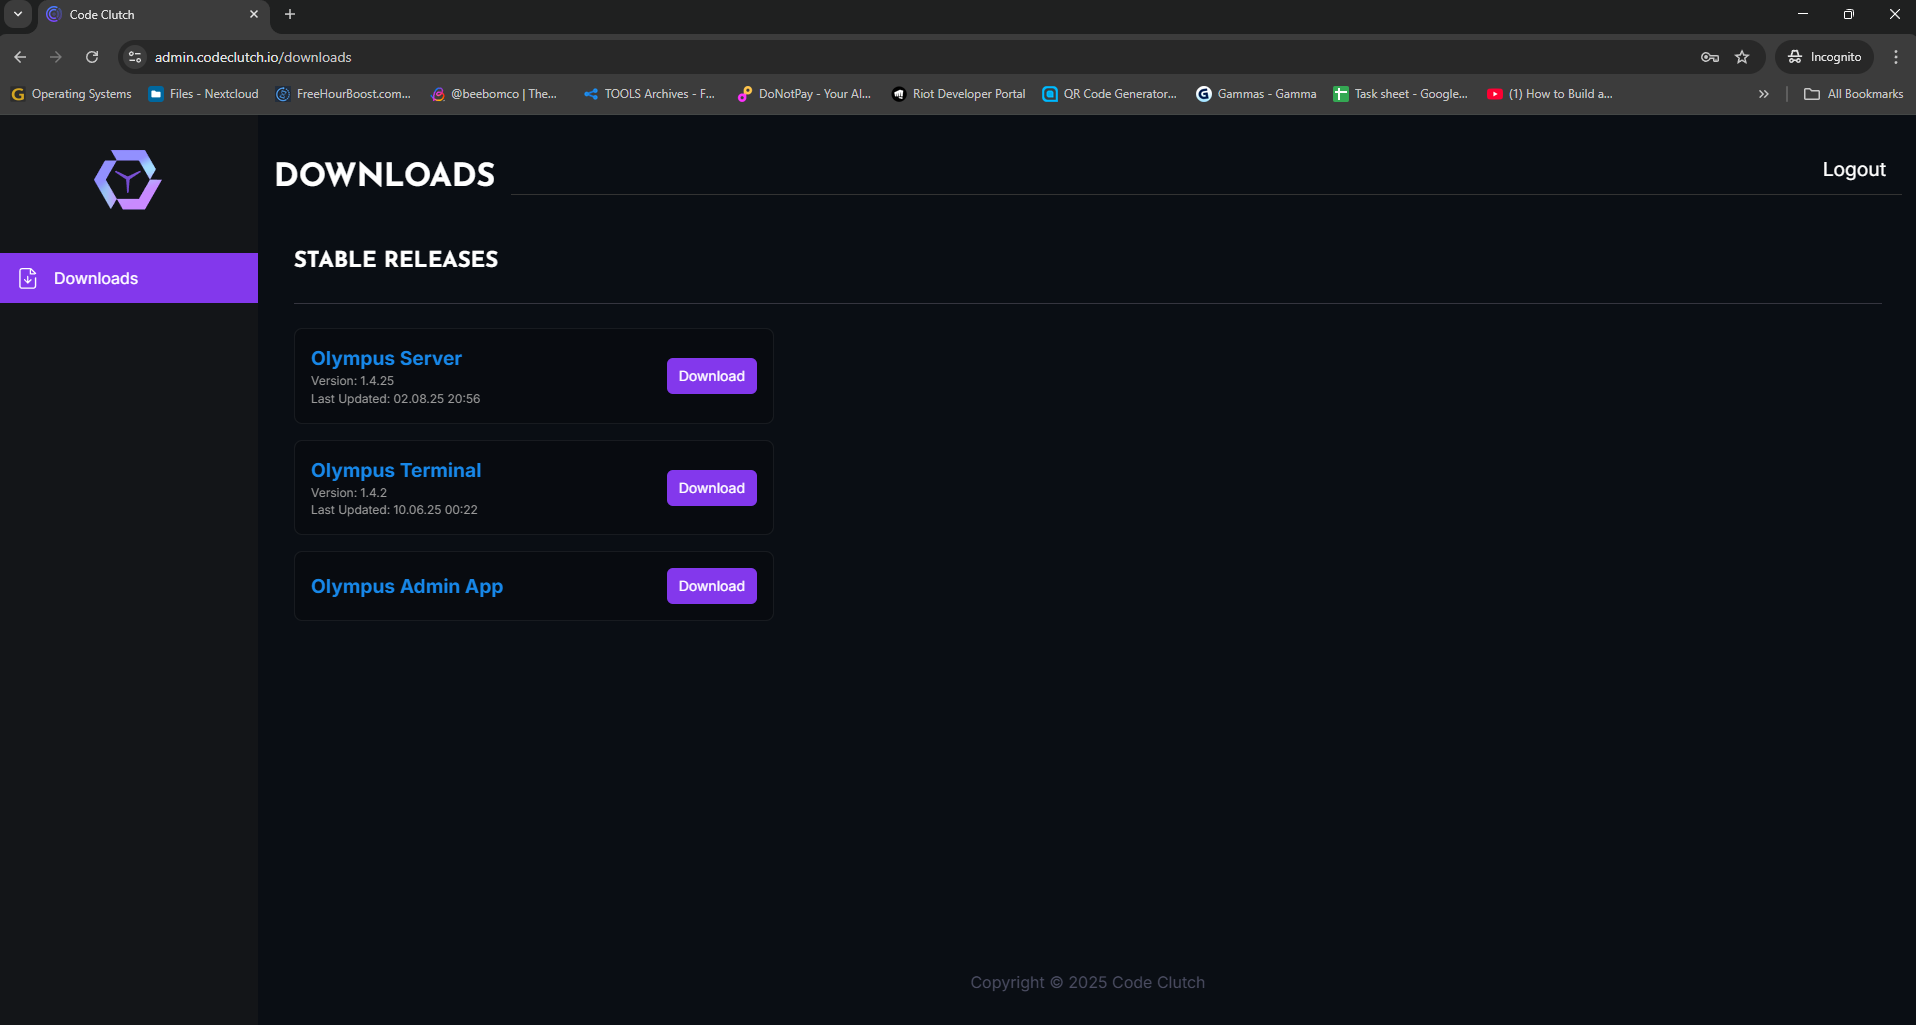
Download the Software
- Go to admin.codeclutch.io and log in
- Click "Download Olympus Terminal"
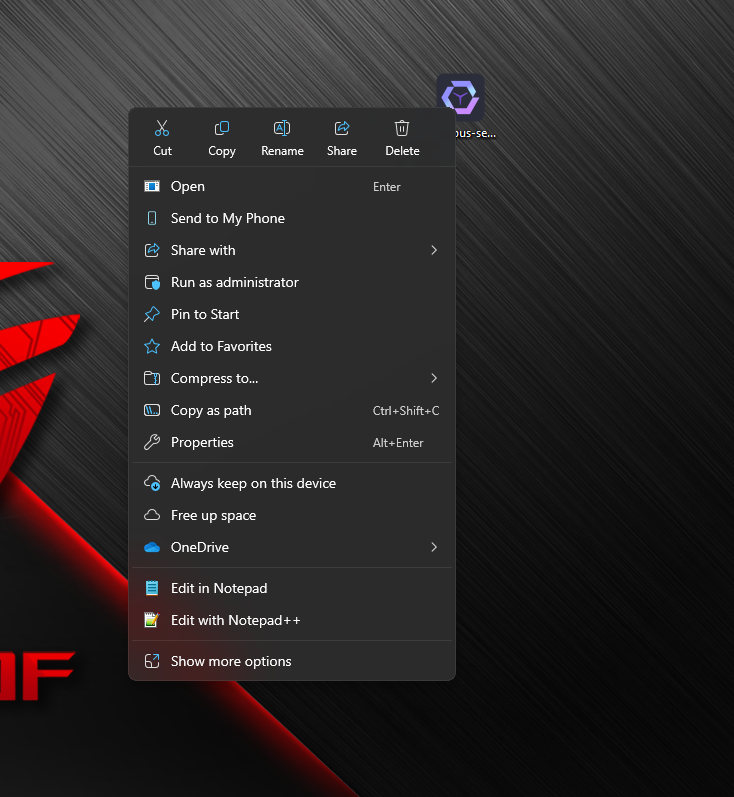
Install as Administrator
Critical Step
Always right-click installer → "Run as administrator"
- Right-click the downloaded file
- Select "Run as administrator"
- Follow the installation wizard
Install .NET Framework
When prompted, click YES to install .NET 6.0:
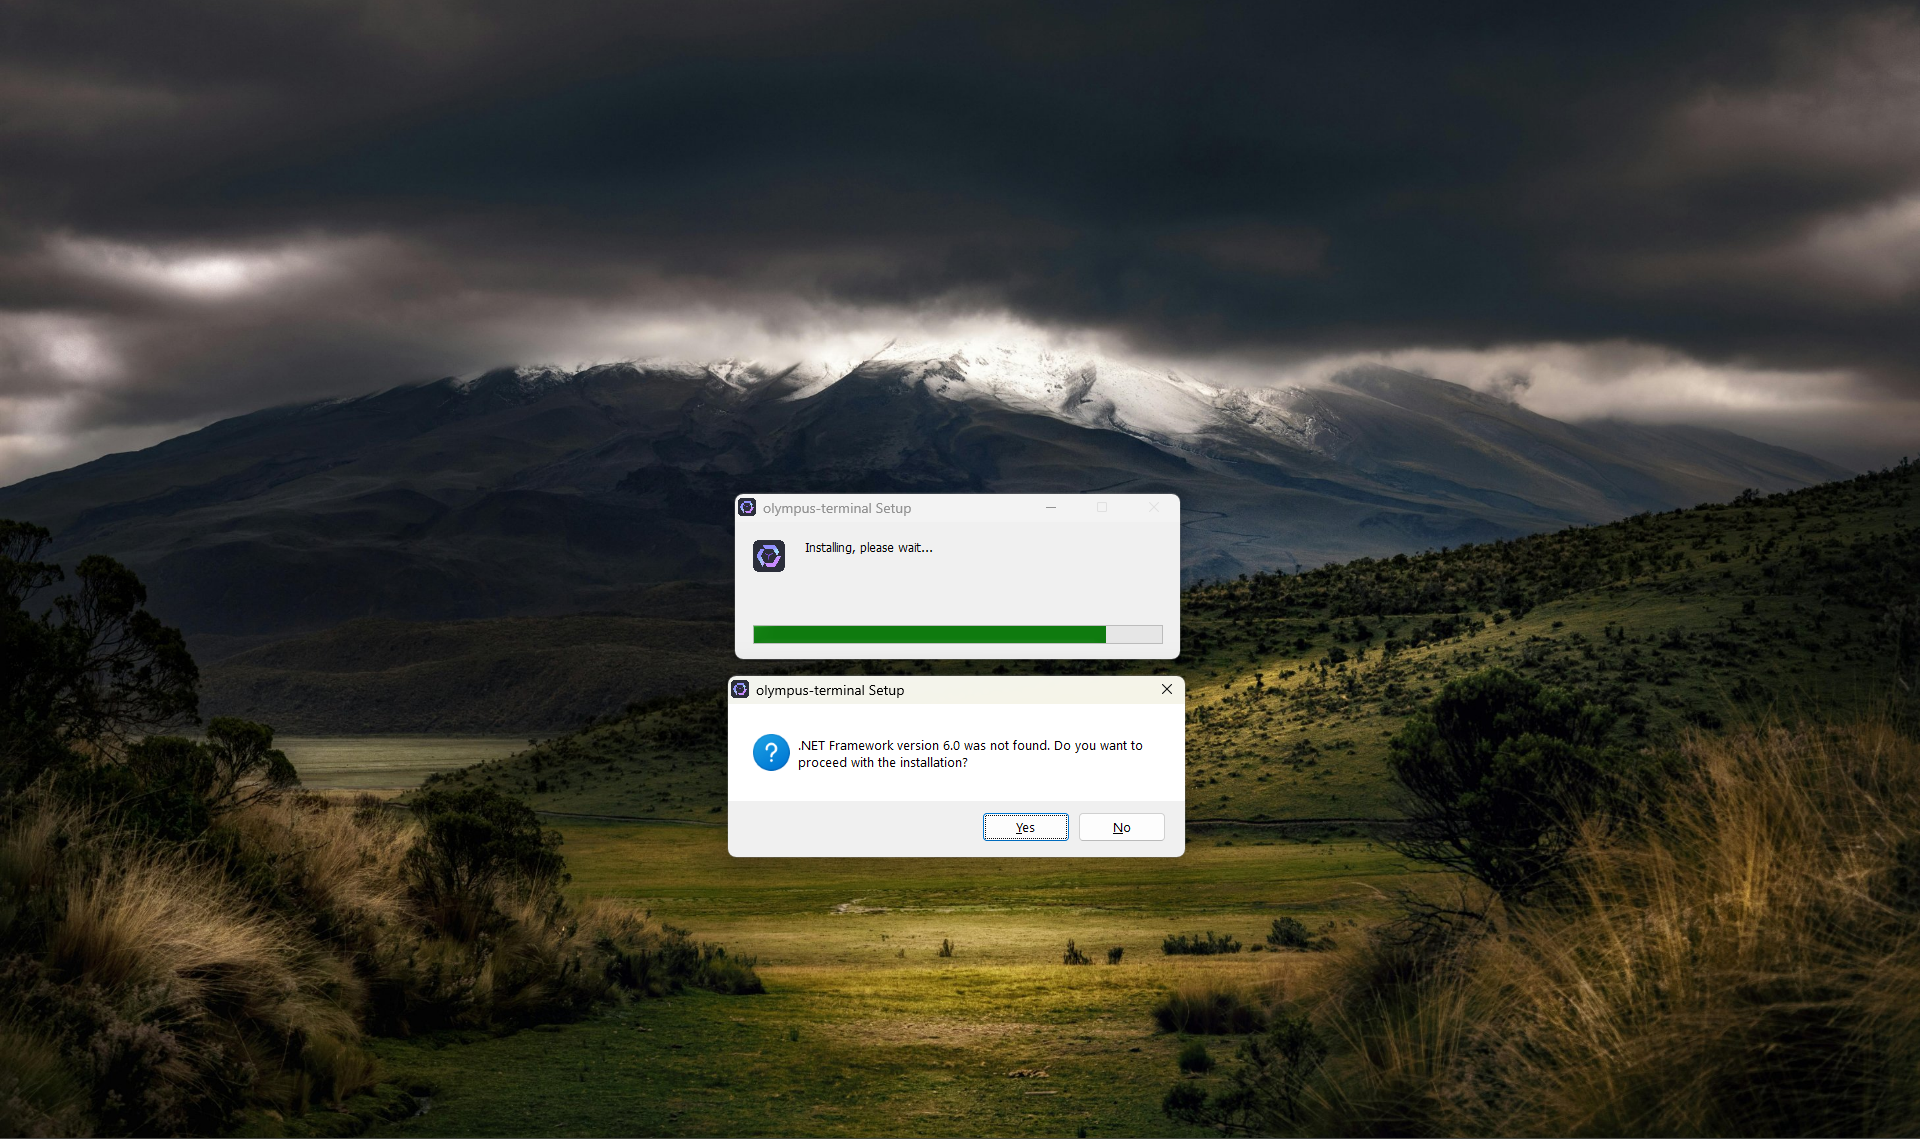
Don't Skip This
Clicking "No" will break the terminal software. Always install .NET when prompted.
Step 2: Windows Configuration
Disable UAC (Recommended)
- Search "UAC" in Windows Start Menu
- Open "Change User Account Control settings"
- Drag slider to "Never notify"
- Click OK and restart if prompted

Configure Power Settings
- Set PC to Never sleep when plugged in
- Disable hibernation
- Set automatic login for kiosk mode
Step 3: Connect to Server
After installation, the terminal will launch automatically.
Automatic Connection
- Click "Change Local Server"
- Wait for network scan to find your server
- Select your server from the list
- Terminal will restart to connect

Manual Connection (if needed)
If automatic discovery fails:
- Click "Manual Configuration"
- Enter server IP address (e.g., 192.168.1.100)
- Enter port (usually 8080)
- Click "Save and Restart"
Step 4: Register Terminal
Once connected, you'll see the registration screen:
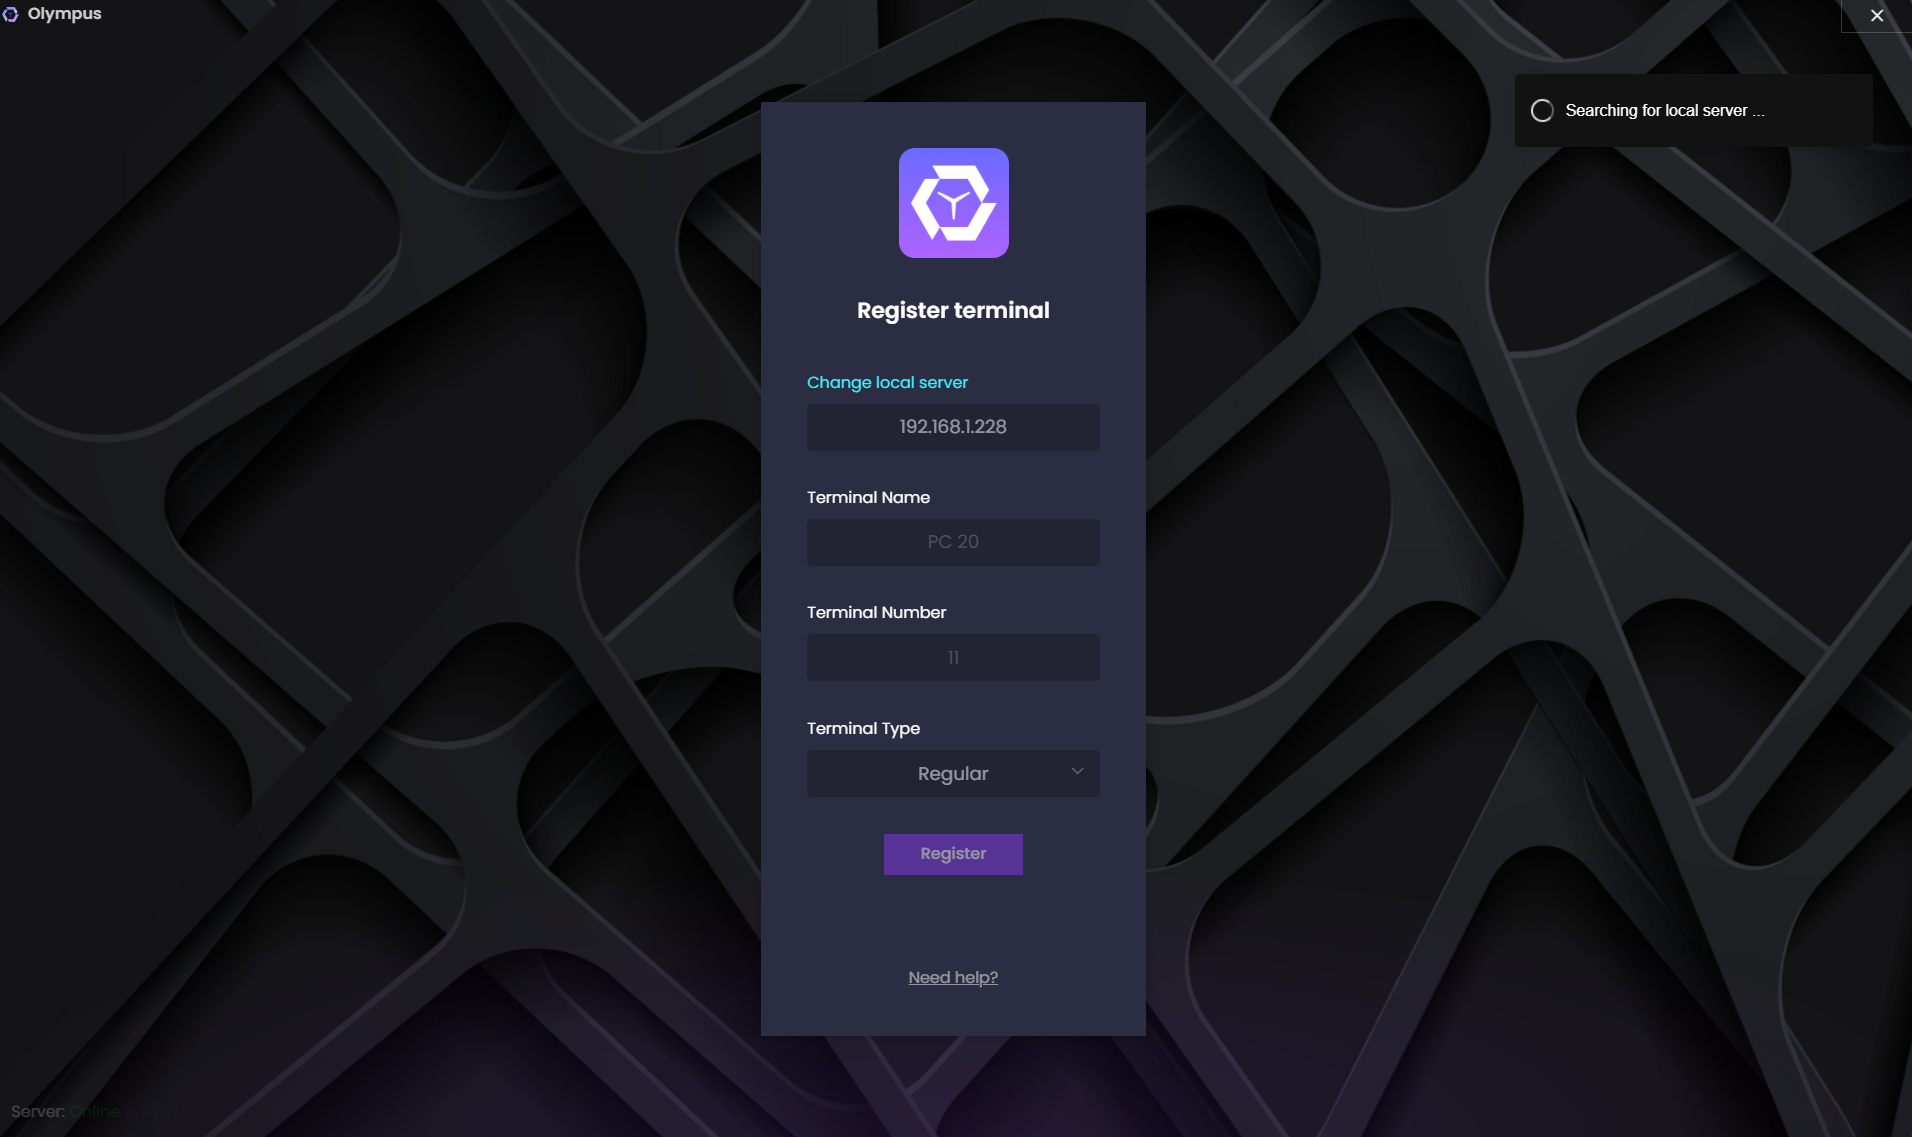
Fill Registration Details
Terminal Name
- Use clear naming:
PC-01,Regular-1,Premium-A1 - Keep it short but descriptive
Terminal Number
- Must be unique (1, 2, 3... or 01, 02, 03...)
- Shows on lock screen for identification
Terminal Type
- Regular: Basic gaming PCs
- Premium: High-performance PCs
- Super: Top-tier gaming rigs
Type Matching
Choose the type that matches your GamePass configuration to avoid billing errors.
Complete Registration
- Review all details
- Click "Register"
- Wait for confirmation
- Terminal restarts → Lock screen appears
Verify Installation
Check Terminal Status
- ✅ Lock screen displays terminal number
- ✅ Green connection indicator
- ✅ No error messages
Check Server Dashboard
- Open server dashboard
- Go to Terminals section
- Verify terminal appears with:
- Correct name and number
- Status: "Available"
- Proper terminal type
Quick Troubleshooting
Terminal Won't Connect?
- Check network cable
- Verify server is running
- Confirm server IP hasn't changed
Registration Fails?
- Ensure unique terminal number
- Check server has available licenses
- Verify all fields filled correctly
Lock Screen Issues?
- Reinstall as administrator
- Disable UAC completely
- Add Windows Defender exclusions
Emergency Access
If locked out of terminal:
- Admin Bypass:
Ctrl + Alt + O - Task Manager:
Ctrl + Alt + Esc - Desktop Access: Task Manager → File → Run →
explorer.exe
Bulk Installation Tips
Installing multiple terminals?
- Plan First: Decide naming convention and number ranges
- Test One: Complete full setup on one PC first
- Use Patterns: Register similar types together
- Document: Keep track of what's completed
Next Steps
✅ Installation Complete!
Now you can:
Need Help?
- Discord: Join our community for real-time help
- WhatsApp: +91 974-123-4643 for urgent issues
- Email: [email protected]